Filtering Tutorial
Filtering allows you to smooth or sharpen an image. There are several types of filters, including FFT, Kernel, Unsharp Mask, and Digital Development. The latter two commands are particularly useful for enhancing astronomical images.
We will demonstrate the Kernel Filters command.
- If you have not already done so, open the DG_HaleBopp.fits file in the Samples directory. (For help on opening files see the Open a File Tutorial).
- Using the Process Ribbon, under Filters select Kernel. This will activate the Kernel Filters dialog.
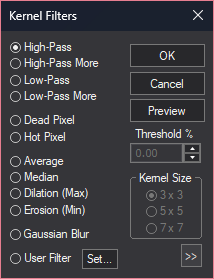
- Now select Low Pass More and click Preview. The image will appear smoother.
- Now select Average and click Preview. In this mode, the Kernel Size function is available. Select 7 x 7, the strongest filter, and the preview image will become much blurrier.
- Switch back to High Pass More and click OK. The image will be updated permanently.
- If you don’t like this result, you can undo this change by pressing the Undo button on the Ribbon Bar.
- Be sure to try the various other filters mentioned above.