
Batch conversion can be used to save files in memory, change the format of image files, and move files from location to location on the hard drive. It also provides a batch calibration facility.
Availability of this feature depends on Product Level.
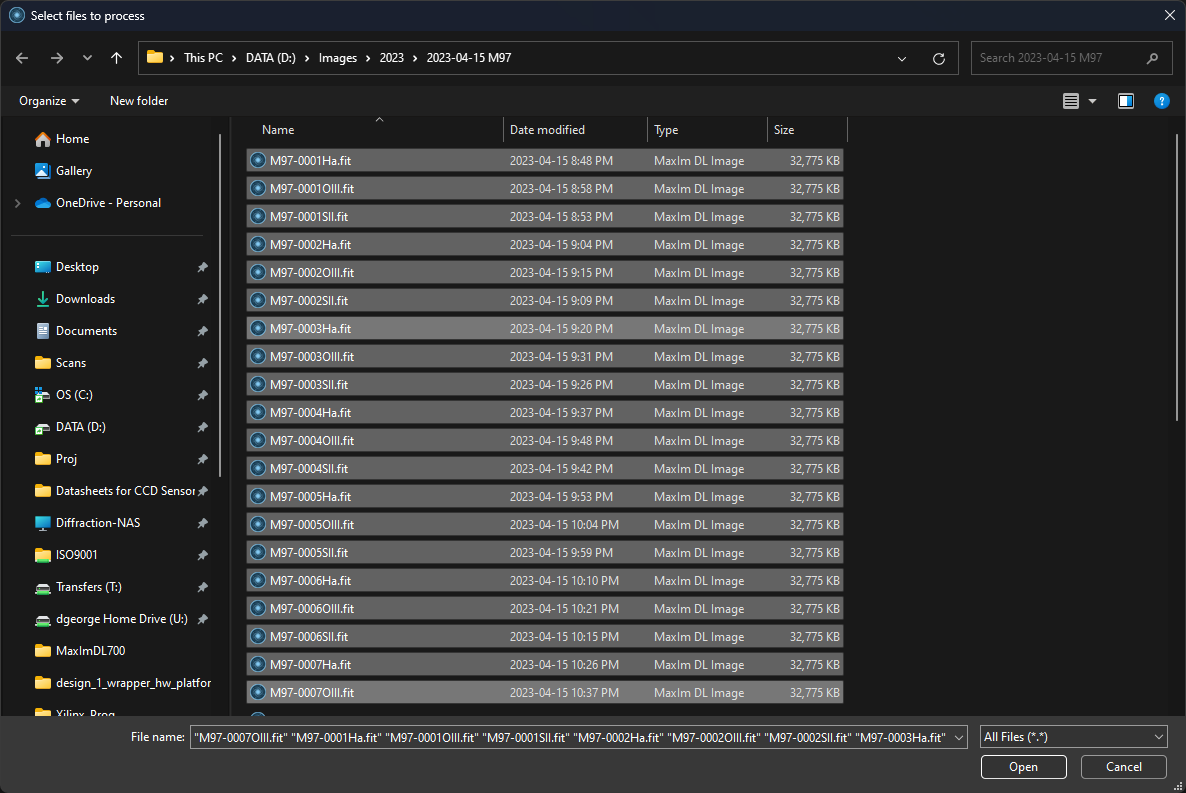
The first step is to select a set of images or files. Files can be selected from disk using the Select Files… button. You can browse to a location on the disk where your files are located, and select a number of files. Use CTRL-click to select individual files, and SHIFT-click to select a range of files.
You can also select images already open in MaxIm DL for transfer to disk by clicking the Select Images… button. This is useful for saving a large number of images, in bulk, to a particular directory. Again, use CTRL-click and SHIFT-click to select multiple images.

You can see the path for the selected images by turning on the Show Path check box. Images from memory do not have a path; they are tagged with [Image] when Show Path is not checked.
You can remove images from the list by selecting them with the mouse and clicking the Remove button.
Once all input images have been selected, use the Convert To settings to select the destination File Format, Size Format (if applicable), and Compression Type. Auto Stretch applies to images whose data range exceeds the limit for the output format. If set to None, high-value pixels are clipped at the maximum permissible value. Current uses the stretch setting associated with each image; this causes 8-bit result images to exactly match their appearance within MaxIm DL. (In the absence of CBLACK, CWHITE or CSTRETCH keys in files converted from disk, Medium stretch is applied instead.) Otherwise, it can be set to any of the Screen Stretch Panel’s standard stretch modes. Manual mode obtains its minimum and maximum values from the image that currently has the focus, and is unavailable when no images are open in MaxIm DL.
You can use the Add suffix option to append characters to the end of the file name prior to saving. The suffix is inserted before the extension, unless it contains a period (.), in which case it replaces the default file extension which would otherwise be used for the selected file type.
Select the location for the saved files using the Path button, or click Write Output to Source Folder to cause the files to be saved back into the folder from which they were loaded. (This option cannot be used when an image has never been saved, for example, one freshly acquired from a camera.) In the event that saving a file will cause it to overwrite an existing file, you can select skip save, overwrite it, or move to subfolder. You can specify the subfolder name in the adjacent field.
Select Perform Calibration if you want each image to be calibrated as it is saved.
Click OK to start the batch save operation. Successfully converted and saved files are removed from the list box, leaving only those for which an error occurred. In this case, the OK button will change to Retry. To find out what error occurred, point the mouse cursor at an image name in the list. The appropriate error message will appear in the Status Bar at the bottom of the MaxIm DL main window. This allows you to view any error message produced for each of the files.